How to Fillet a Lake Trout
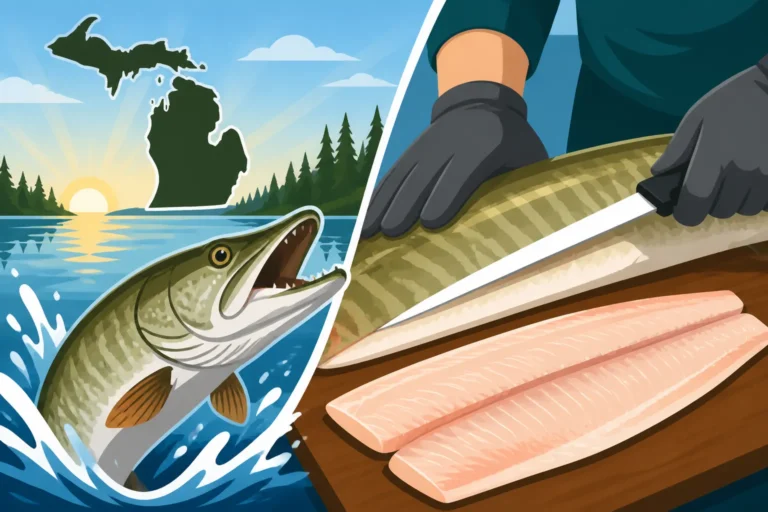
After a successful day out on Michigan's beautiful waters, landing a magnificent lake trout is truly a reward. But then comes the moment of truth: turning that impressive catch into delicious, boneless fillets ready for the pan or smoker. Many anglers, especially those new to handling such a substantial and often oily fish, find the filleting process daunting. It’s a skill that transforms your hard-won catch from a whole fish into a culinary delight, and this guide is here to walk you through every cut, ensuring you get the most out of your lake trout.
Why Learning to Fillet a Lake Trout Matters
Knowing how to properly fillet your lake trout isn't just about getting dinner on the table; it's about respect for the fish, maximizing your enjoyment, and building a valuable skill that serves you well as an angler. There’s a distinct difference between a haphazardly butchered fish and one that’s been expertly processed.
Maximizing Your Catch's Deliciousness
Lake trout, known for their rich, often oily flesh, are incredibly versatile in the kitchen. However, if not filleted correctly, the presence of skin, scales, or especially bones can completely detract from the eating experience. A clean, boneless fillet allows you to savor the flavor and texture without the distraction of picking out a hidden rib bone or dealing with tough skin. Think of it as preparing a prime cut of meat; you wouldn't leave gristle and bone attached, and the same principle applies here for optimal taste and enjoyment.
When you take the time to remove all the unwanted parts, you're left with pure, flavorful meat that can be grilled, baked, smoked, or fried to perfection. The quality of your fillet directly impacts the quality of your meal, making proper technique a fundamental part of the fishing experience, right up there with knowing Best Time to Catch Lake Trout on the Great Lakes or Lake Trout Identification in Michigan.
Waste Not, Want Not
One of the biggest frustrations for anglers is looking at a pile of perfectly good meat left behind on the carcass after an amateur filleting job. Lake trout are large fish, and leaving even a small amount of meat on the frame adds up. Learning to make clean, precise cuts ensures that you extract as much usable flesh as possible, honoring the fish and your efforts to catch it. It’s an ethical approach to angling, ensuring that every part of the harvest that can be consumed is prepared for consumption.
By mastering the technique, you'll find you’re leaving far less behind, making your fishing trips more productive from a culinary standpoint. This approach also means fewer trips to the grocery store for fish, making your catches even more rewarding.
The Satisfaction of Self-Sufficiency
There's immense satisfaction in catching your own food, and that satisfaction extends to processing it yourself. Filleting your own lake trout is a hands-on skill that connects you deeper to the entire fishing experience. It’s empowering to know that you can transform a whole fish into ready-to-cook portions without relying on a professional fishmonger. This self-reliance also gives you complete control over the cleanliness and quality of your fillets, from the moment the fish leaves the water to when it hits your plate.
Beyond the practical benefits, there's a certain pride in serving a meal that you've not only caught but also meticulously prepared yourself. It’s a full-circle experience that many anglers cherish, and it makes every bite of that lake trout taste even better.
Essential Tools for the Task
Before you even think about making the first cut, gathering the right tools is paramount. Trying to fillet a large fish like a lake trout with a dull kitchen knife or on a tiny, unstable cutting board is a recipe for frustration and potentially injury. Investing in proper equipment will make the job much easier, safer, and more efficient.
The Right Fillet Knife Makes All the Difference
A sharp, flexible fillet knife is your most important ally in this process. Unlike a general-purpose kitchen knife, a good fillet knife is specifically designed for navigating bones and separating flesh cleanly.
- Blade Length and Flexibility: For lake trout, which can be quite large, a blade length of 7 to 9 inches is often ideal. The flexibility of the blade is also key; it allows you to bend the knife along the contours of the fish's spine and ribs, making those critical cuts much smoother and leaving more meat on the fillet. A stiff knife will struggle to follow these curves accurately. You’ll quickly notice the difference when trying to separate the fillet from the rib cage – a flexible blade can slide over them, while a rigid one will dig in and leave meat behind.
- Sharpness: This cannot be overstated. A dull knife is dangerous because it requires more force, increasing the risk of slips and cuts. A sharp knife glides through the flesh with minimal effort, providing clean cuts and reducing fatigue. Always have a sharpening steel or stone handy to touch up your blade before and even during the filleting process. A razor-sharp edge makes the process enjoyable rather than a chore.
- Handle Comfort and Grip: Filleting a large fish can take time, and a comfortable, non-slip handle is crucial for maintaining control, especially when your hands might be wet or slimy. Look for handles made of textured rubber or composite materials that offer a secure grip. Ergonomics play a huge role in preventing hand cramps and ensuring precise movements throughout the entire filleting operation. Many anglers swear by knives with a slightly oversized handle for better leverage on big fish. You can find excellent, purpose-built fillet knives from reputable brands at Bass Pro Shops or browse a wide selection of highly-rated options on Amazon.
Cutting Board and Work Surface
A stable and appropriately sized cutting board is critical for safety and efficiency.
- Size and Stability: You need a cutting board large enough to comfortably accommodate the entire lake trout without it hanging off the edges. For bigger fish, this often means a board 24 inches or longer. More importantly, the board needs to be stable. Place a damp cloth or non-slip mat underneath it to prevent it from sliding around on your countertop. A shifting board while wielding a sharp knife is incredibly dangerous.
- Material: Plastic or composite cutting boards are generally preferred for fish because they are non-porous and easier to sanitize than wooden boards. This helps prevent cross-contamination and minimizes odors. Look for boards with a juice groove around the edge to collect any fluids, keeping your work area cleaner. A designated fish-filleting board is a smart investment, as it can often withstand more wear and tear and be cleaned more aggressively than your kitchen's everyday cutting board.
Other Handy Accessories
A few other items can make your filleting experience much smoother.
- Fish Gripper or Towel: Holding a slippery lake trout firmly in place is essential. A fish gripper can provide a secure, non-slip hold, protecting your hands. Alternatively, a clean, dry towel can be used to grip the fish, though grippers are often more effective for larger specimens. This prevents the fish from sliding around as you make your initial cuts, enhancing both safety and precision.
- Pliers: Small needle-nose pliers are invaluable for removing any stubborn pin bones that you might miss during the initial filleting, or to pull off fin remnants.
- Sharpening Tool: As mentioned, a sharpening steel, ceramic stick, or even a small pocket sharpener is vital for maintaining your knife's edge. A few quick passes can restore a keen edge and keep you working efficiently.
- Gloves: Some anglers prefer to wear cut-resistant gloves on their non-dominant hand for added safety, especially when first learning. They can also provide a better grip on the fish.
- Paper Towels or Cleaning Cloths: Keep a roll of paper towels or a few dedicated cleaning cloths nearby for wiping down your knife, hands, and work surface as you go. This helps maintain a clean work environment and prevents the spread of fish oils and scales.
Pre-Filleting Prep: Setting Up for Success
The success of your filleting operation starts long before the knife touches the fish. Proper preparation ensures your lake trout is in the best condition for processing and that your workspace is safe and efficient.
Keeping Your Catch Fresh
The quality of your fillet directly relates to the freshness of your fish. Lake trout, like all fish, should be kept cold and handled quickly after being caught.
- Immediate Cooling: As soon as you land a lake trout, get it on ice. A cooler filled with ice is indispensable. This slows down bacterial growth and preserves the texture and flavor of the meat. Warm fish quickly degrades, becoming softer and harder to fillet cleanly.
- Gutting (Optional but Recommended): While not strictly necessary before filleting if you plan to process it immediately, gutting the fish shortly after catching it can further extend its freshness, especially if there's a delay before you can fillet it. Removing the entrails eliminates a major source of bacteria and enzymes that can spoil the meat. For most lake trout caught in Michigan, you're looking at a substantial fish, and proper handling is key whether you're bringing it home from Higgins Lake Fishing Guide or Lake Superior Brook Trout Fishing.
- Rinsing: Before filleting, give the exterior of the fish a quick rinse under cold water to remove any loose scales, slime, or debris. This helps keep your cutting board cleaner and prevents these elements from transferring to your fillets.
The Ideal Work Environment
Your filleting station should be set up for safety, comfort, and easy cleanup.
- Lighting: Good lighting is crucial for seeing your cuts clearly and identifying bones. Work in a well-lit area, whether it's your kitchen or an outdoor cleaning station.
- Stability: As mentioned with the cutting board, ensure your entire work surface is stable and at a comfortable height. A wobbly table or one that forces you to hunch over will lead to fatigue and increase the risk of accidents. Many anglers use outdoor cleaning tables that have built-in sinks and spray nozzles, which are incredibly convenient.
- Easy Cleanup: Filleting fish, especially a larger one like a lake trout, can be messy. Have a garbage can or a designated bucket nearby for the carcass and trimmings. Laying down newspaper or a plastic tarp can protect your surfaces and make cleanup much easier. Access to running water is also a huge plus for rinsing your hands, knife, and the fish as needed.
Safety First: Knife Handling and Hand Protection
Anytime you're working with sharp knives, safety should be your top priority.
- Always Cut Away from Yourself: This is the golden rule of knife safety. Position the fish and your body so that any slip of the knife will move away from your hands and body.
- Secure Grip on the Fish: Use a fish gripper or a dry towel to hold the lake trout firmly. A slippery fish can cause your knife to glance off, leading to injury.
- Keep Fingers Clear: Be mindful of where your non-dominant hand is positioned. Keep your fingers curled and away from the blade’s path.
- Proper Knife Storage: When not in use, always place your knife in a secure spot where it won't fall or be accidentally grabbed. Never leave it balancing precariously on the edge of a counter.
- Cut-Resistant Gloves: If you're new to filleting or feel less confident, a cut-resistant glove on your non-dominant hand can provide an important layer of protection against accidental nicks and slices. While they don't make your hand invulnerable, they significantly reduce the risk of serious injury.
Step-by-Step Guide to Filleting a Lake Trout
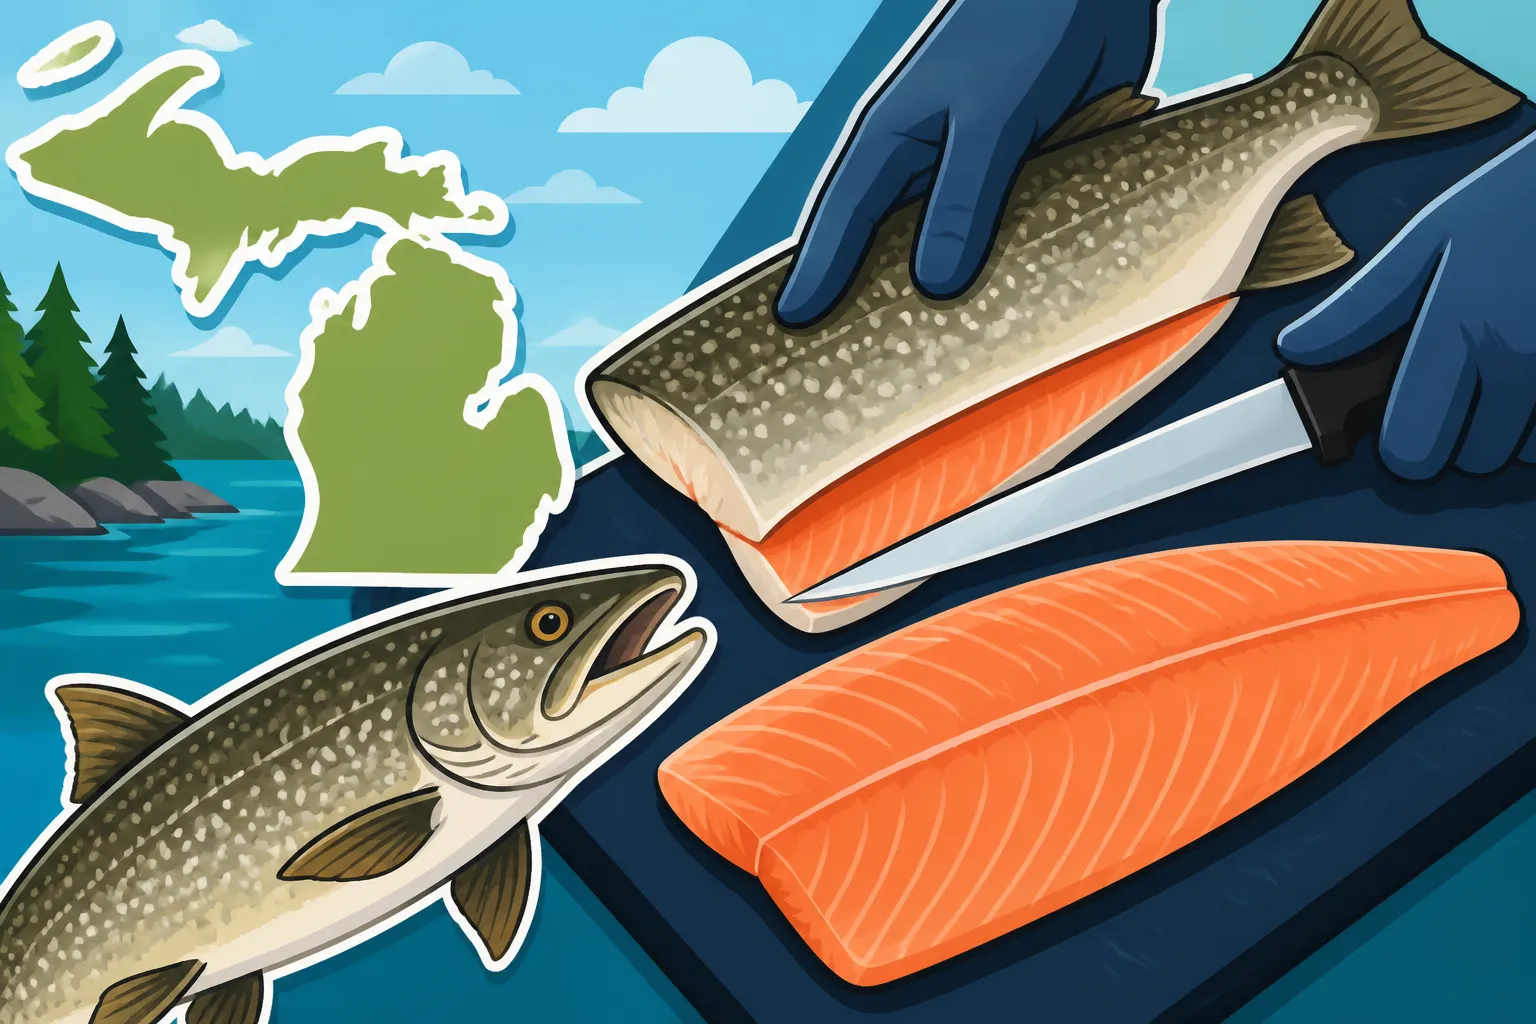
Now that you're prepared, let's get down to the actual filleting. This method aims to yield two clean, skin-off, boneless fillets from your lake trout.
The Initial Cut: Behind the Gills and Along the Spine
This is where the transformation begins. Precision here sets the stage for the rest of the process.
- First Incision (Behind the Gill Plate): Lay the lake trout on its side on your cutting board, belly facing you. Take your sharp fillet knife and make a deep cut behind the gill plate, angling slightly towards the head. Cut down until you feel the spine. Don't cut through the spine entirely, just down to it. This cut should go from the top of the fish down to just above the belly cavity. Imagine you're making a "collar" cut.
- Second Incision (Along the Top of the Spine): Once your knife meets the spine, turn the blade so it's parallel to the backbone. Starting from your initial cut, slide the knife along the top of the spine, moving towards the tail. Keep the blade as close to the spine as possible, using the backbone as your guide. You'll be separating the top loin of the fish. Use long, smooth strokes. If you feel resistance, adjust your angle slightly to hug the bones. This cut will release the top portion of the fillet from the backbone.
- Opening the Fillet: Continue this cut all the way down to the tail. As you cut, lift the fillet away from the bone slightly with your free hand to help guide the knife. You'll eventually reach a point where the fillet is attached only by the rib bones and a small section near the belly.
Separating the Fillet from the Rib Cage
This is often the trickiest part, as rib bones are numerous and can be brittle.
- Cutting Around the Ribs: With the top part of the fillet now mostly separated, you'll encounter the rib cage. Carefully guide your knife over the top of the rib bones, angling the blade slightly to follow their curve. You want to slide the knife just above the bones, separating the meat from them. Use short, precise strokes here, feeling the bones with the blade as you go.
- Freeing the Fillet: Continue this process until the entire fillet is free from the rib cage. You might need to gently lift the fillet as you cut to create tension, which helps the knife slide more easily. The goal is to leave the rib bones attached to the carcass, not embedded in your fillet. This step takes practice, but a flexible knife makes it significantly easier. Don't worry if you leave a little bit of meat on the bones at first; that's normal. Once you've removed the first fillet, flip the fish over and repeat the entire process for the second side. Take your time, remember that it's a process, similar to learning different techniques like How to Troll for Chinook Salmon on Lake Michigan.
Removing the Skin (Skin-Off Method)
Most anglers prefer to remove the skin from lake trout, especially if the fish is large, as the skin can be quite tough and the fat layer underneath can be very strong in flavor.
- Positioning the Fillet: Lay the fillet skin-side down on your clean cutting board. Position the tail end of the fillet closest to you.
- Starting the Cut: Hold the tail end firmly with your non-dominant hand. Make a small incision at the very end of the tail, cutting down just until your knife reaches the skin, but not through it. Angle your knife almost parallel to the board.
- Sliding the Knife: With your dominant hand, gently push the knife forward, wiggling it slightly from side to side, while simultaneously pulling the skin towards you with your non-dominant hand. Maintain a consistent, shallow angle with your knife, keeping it tight against the skin. The goal is to slide the blade between the meat and the skin, leaving all the skin attached to your hand and a clean, skinless fillet on the board.
- Practice Makes Perfect: This technique also requires practice. The trick is to keep tension on the skin and a shallow, consistent angle with the knife. If you cut too steeply, you'll leave meat on the skin. If you cut too shallowly, you might cut through the skin. This skill is invaluable for any fish, much like understanding Michigan Fishing Season Dates and Rules is vital for angling success.
Trimming and Pin-Boning
Even after removing the main fillet and skin, there are a few more steps to ensure a truly boneless and appetizing piece of fish.
- Locating Pin Bones: Run your fingers along the center line of the fillet. You'll likely feel a row of small, flexible bones running down the lateral line. These are the pin bones.
- Removing Pin Bones: Using your needle-nose pliers, grasp each pin bone firmly at its base and pull it out in the direction it was growing (usually slightly towards the head). Pulling them straight out can sometimes tear the meat. Take your time to ensure all are removed.
- Trimming Dark Meat and Fat: Lake trout often have a strip of darker, sometimes stronger-flavored meat along the lateral line and a fatty layer just under where the skin was. Many anglers prefer to trim this away, as it can have a "fishier" taste compared to the lighter flesh. Use your fillet knife to carefully slice off these darker portions and excess fat. This greatly improves the flavor profile, especially for milder preparations.
- Portioning: Once trimmed and deboned, you can now cut your large lake trout fillets into smaller, more manageable portions suitable for cooking. Cut them into steaks or smaller fillet pieces, depending on your recipe.
Post-Fillet Care: Storage and Preparation
You've put in the work, now ensure those beautiful lake trout fillets are cared for properly to maintain their quality until they reach your plate.
Proper Storage for Freshness
Correct storage is key to preserving the flavor and texture of your freshly filleted lake trout.
- Immediate Refrigeration: If you plan to cook the fillets within a day or two, rinse them gently under cold water, pat them thoroughly dry with paper towels, and place them in an airtight container or wrap them tightly in plastic wrap. Store them on ice in the coldest part of your refrigerator. Drying them is important because excess moisture can promote bacterial growth and lead to a mushy texture.
- Freezing for Longer Storage: For longer storage, proper freezing is essential to prevent freezer burn and maintain quality.
- Rinse and Dry: Again, rinse and thoroughly pat dry each fillet.
- Vacuum Seal: The best method is to vacuum seal individual fillets or meal-sized portions. This removes all air, which is the primary cause of freezer burn.
- Alternative Wrapping: If you don't have a vacuum sealer, wrap each fillet tightly in plastic wrap, ensuring no air pockets, then wrap it again in aluminum foil or freezer paper. Place these wrapped fillets in a freezer bag, pressing out as much air as possible before sealing.
- Labeling: Always label your frozen fish with the date it was caught and frozen. Lake trout can be kept in a deep freezer for several months without significant loss of quality. This ensures you can enjoy your catch for a long time, similar to the planning involved in understanding Michigan Fishing License Guide for Residents and Nonresidents for year-round fishing.
Cooking Considerations for Lake Trout
Lake trout's rich, oily flesh makes it incredibly versatile, but also means it benefits from certain cooking methods.
- Grilling and Smoking: Due to their fat content, lake trout fillets are fantastic on the grill or smoker. The fat renders beautifully, keeping the meat moist and flavorful. Consider brining the fillets before smoking for an even richer taste.
- Baking: Baking is another excellent option. You can bake them with lemon, herbs, or a little butter. The gentle heat helps to cook the fish evenly without drying it out.
- Pan-Frying: For a crispier exterior, pan-frying is a classic choice. Just be mindful not to overcrowd the pan and to cook at a medium-high heat to get a nice sear.
- Flavor Pairings: Lake trout pairs wonderfully with bright, acidic flavors like lemon, lime, and white wine, as these can help cut through its richness. Herbs like dill, parsley, and thyme also complement its natural flavors beautifully.
By mastering the art of filleting and then properly storing and preparing your lake trout, you're not just cooking a meal; you're completing the cycle of a rewarding Michigan fishing adventure.
Here's a quick summary of the filleting steps:
| Step | Description | Key Technique |
|---|---|---|
| 1. Behind the Gill Plate | Make a deep cut down to the spine, just behind the gill. | Angle towards the head; cut to the backbone. |
| 2. Along the Spine | Turn knife parallel to spine, cut towards tail, separating the top loin. | Hug the backbone; use long, smooth strokes. |
| 3. Around the Rib Cage | Carefully cut over the rib bones, separating meat from the ribs. | Guide knife over bones; use short, precise strokes. |
| 4. Skin Removal (Skin-Off) | Lay fillet skin-down, cut small incision at tail, slide knife between meat & skin. | Keep knife parallel to board; pull skin tight. |
| 5. Pin-Boning | Run fingers along fillet to locate small pin bones. | Grasp bone with pliers; pull gently towards head. |
| 6. Trimming | Remove dark meat, excess fat, and any remaining tough bits. | Use sharp knife to carefully slice off unwanted parts. |
| 7. Portioning | Cut fillets into desired sizes for cooking or storage. | Cut across the fillet for steaks or smaller portions. |
Disclaimer
This article is for general informational purposes only and does not constitute professional advice. Laws, prices and regulations vary by location and change over time. Consult a qualified professional for guidance on your specific situation.