How to Fillet a Muskellunge
Landing a big muskellunge is an incredible thrill, but for many anglers who choose to harvest one, the excitement can quickly turn to a bit of apprehension when it comes to processing such a large, unique fish. Dealing with those notorious "Y" bones can be daunting, making the prospect of getting clean, boneless fillets seem almost impossible. This guide will walk you through a detailed, step-by-step process for filleting a muskellunge, ensuring you maximize your yield and overcome the challenges posed by its distinctive bone structure.
Understanding the Muskellunge's Anatomy for Filleting
Before you even pick up a knife, understanding the internal architecture of a muskellunge is paramount. Unlike many other fish with straightforward bone structures, the muskie presents a particular challenge that often intimidates even experienced anglers. Knowing what you're up against will help you make more precise cuts and ultimately result in better fillets.
The Challenge of the "Y" Bones
Muskies are infamous for their "Y" bones. These aren't just your standard rib bones that arc around the cavity; they are additional, small, fork-shaped bones embedded within the muscle tissue along the lateral line. This unique bone structure is precisely why many anglers opt for catch and release when targeting these magnificent fish. If you've ever tried to fillet a muskie like a walleye or a bass, you've likely encountered these frustrating bones, which can turn a beautiful fillet into a boney mess. They run through the upper portion of the fillet, making it tough to get a truly boneless piece of meat without a specific technique. It's a common frustration that can make an otherwise successful fishing trip feel like a culinary defeat. Muskellunge Fishing in Michigan is a true art, and processing them is no less intricate.
Key Anatomical Features to Locate
To successfully navigate the "Y" bones, you need to be able to accurately locate several key anatomical features. Start by familiarizing yourself with the muskie's backbone, which runs straight down the middle from head to tail. The rib cage will be obvious, curving around the body cavity. The dorsal fin runs along the top, and the anal fin along the bottom, both providing landmarks for your cuts. Most importantly, identify the lateral line. This subtle line runs along the side of the fish, roughly midway between the back and belly. The "Y" bones are predominantly found in the muscle tissue directly above this lateral line, often extending from just behind the gill plate almost to the tail. Precision in locating these features will save you time and meat. Remember that Michigan Muskellunge Harvest Reporting Rules are crucial if you do decide to keep one, so ensure you understand them fully.
Essential Tools and Preparation for Filleting a Muskie
Having the right equipment and preparing your workspace properly are crucial steps for safe and efficient muskie filleting. Trying to tackle a large, slippery fish with a dull or inadequate knife is a recipe for frustration and potential injury.
The Right Fillet Knives and Sharpening
For a fish of this size and bone structure, you'll need more than just a standard kitchen knife. A long, flexible fillet knife, ideally 9 to 12 inches in length, is essential. The length allows you to make long, sweeping cuts, while the flexibility helps you navigate contours like the rib cage. The sharpness of your blade cannot be overstated. A dull knife requires more force, increasing the risk of slips and accidents. Invest in a good knife sharpener or honing steel. Before every filleting session, give your blade a few passes to ensure it's razor-sharp. You can find excellent fillet knives and sharpening tools at trusted retailers like Bass Pro Shops or on Amazon, with options ranging from electric sharpeners to traditional whetstones. For instance, an electric sharpener can quickly restore a keen edge, making the job much easier and safer. Don't forget, Best Fillet Knife for Walleye could be a good starting point, but you'll need something more substantial for a muskie.
Filleting Station Setup and Safety Precautions
Your filleting station should be clean, stable, and well-lit. A sturdy table or countertop that can withstand some pressure is ideal. Cover your workspace with newspaper or a plastic sheet for easy cleanup. Keep a bucket of water nearby to rinse your knife and hands as you work. Safety is paramount when handling sharp knives and a large, potentially slippery fish. Always use a non-slip cutting board; some boards even have clamps to secure the fish. Consider wearing cut-resistant gloves, especially on your non-dominant hand, to protect against accidental slips. Take your time, focus on each cut, and keep your fingers well away from the blade. Remember that muskie can be quite slimy, adding another layer of challenge, so having a good grip and a stable surface is vital.
Step-by-Step Guide to Filleting a Muskellunge
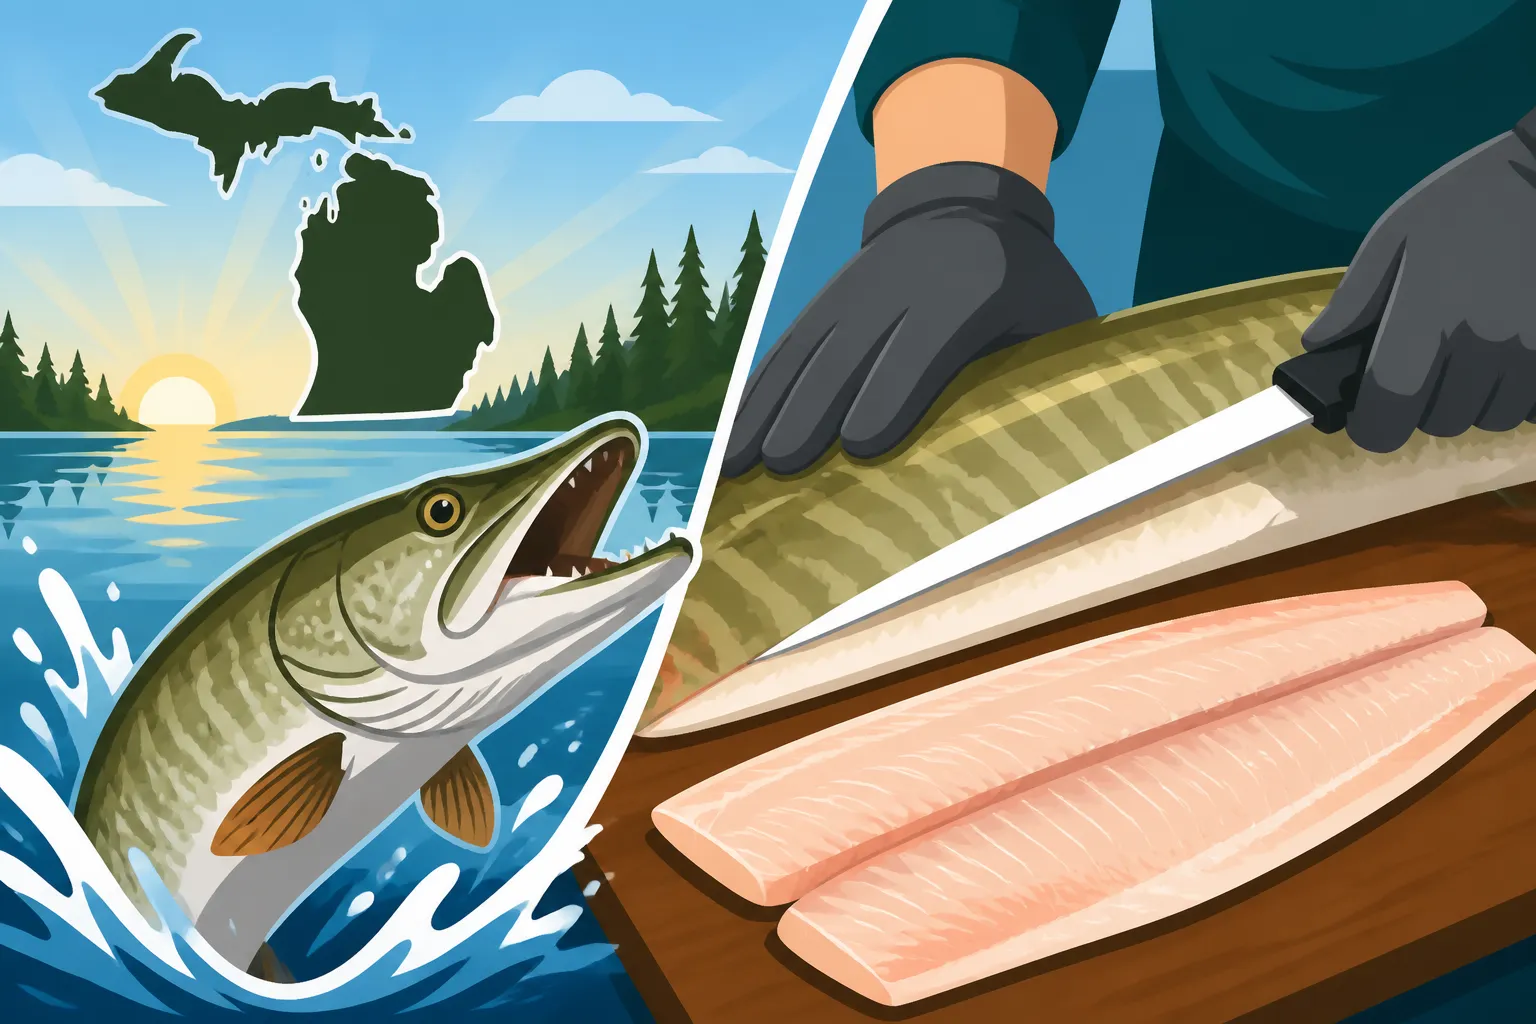
Now that you're prepared, let's dive into the actual filleting process. The key to successfully filleting a muskie lies in making precise cuts that account for its unique "Y" bone structure, often resulting in what's known as the "four-fillet" method.
Initial Cuts and Removing the First Fillet
- Position the Fish: Lay the muskie flat on your cutting board, dorsal fin facing upwards. You want a stable base for your initial cuts.
- Behind the Pectoral Fin: Make your first cut just behind the pectoral fin (the one on the side, near the head). Angle your knife slightly towards the head and cut down firmly until you feel the backbone.
- Along the Backbone: Turn your knife and run it along the top of the backbone, keeping the blade pressed against the spine. Make a long, smooth cut from the initial incision all the way back to the tail. This separates the large top portion of the fillet from the backbone.
- Over the Rib Cage: Now, gently peel back the meat you've just separated. You'll expose the rib cage. Carefully work your knife over the ribs, keeping the blade close to the bone, detaching the meat. The goal here is to leave the ribs attached to the carcass, not the fillet. This requires a bit of finesse and a flexible blade. Don't worry if a little meat remains on the ribs; the priority is getting clean, boneless meat.
- Separate from the Tail: Once you've cleared the ribs, continue your cut down to the tail, separating the entire slab of meat from the carcass, except for the skin. You now have your first large fillet attached only by the skin at the tail.
This initial process gives you a large, skin-on fillet that still contains the infamous "Y" bones. Remember to always use a Best Net for Landing Muskellunge to ensure the fish is safely brought aboard without damage, which also helps with easier filleting.
Addressing the "Y" Bones and Removing the Lower Fillet
The "Y" bones are the real trick to muskie filleting. Instead of trying to cut them out of a single large fillet, many prefer a method that separates the muscle into boneless strips.
- Identify the "Y" Bone Line: With your large, skin-on fillet (still attached at the tail) lying flat, identify the lateral line. The "Y" bones are typically in the strip of muscle directly above this line.
- Top Loin Cut: Make a cut above the "Y" bone section, running parallel to your initial backbone cut. This will separate the top boneless loin from the "Y" bone strip.
- Bottom Loin Cut: Next, make a cut below the "Y" bone section, again parallel to the lateral line. This separates the boneless bottom loin from the "Y" bone strip.
- Separate the "Y" Bone Strip: You should now have three distinct strips of meat: a boneless top loin, a boneless bottom loin, and a middle strip containing the "Y" bones. You can discard the "Y" bone strip or save it for stock if you're feeling adventurous and patient enough to pick the meat.
- Repeat on the Other Side: Flip the muskie over and repeat the entire process on the other side. This method is the most effective for achieving boneless muskie fillets. Michigan's One Muskellunge Per Year Rule makes every ounce of meat precious.
Skinning and Trimming the Fillets
Once you have your boneless strips, the next step is to remove the skin and clean them up.
- Skinning: Place one boneless fillet strip skin-side down on your cutting board. Make a small cut at the tail end, just through the meat and down to the skin, but not through the skin. Grip the skin firmly with one hand. With your other hand, hold the knife at a slight angle and carefully slide it between the meat and the skin, working it back and forth in a sawing motion, keeping the blade close to the skin. This should separate the meat from the skin cleanly.
- Trimming: After skinning, inspect your fillets. You might find some dark red meat or fatty areas along the edges. These can sometimes have a stronger flavor, so many anglers choose to trim them off for a milder taste. Use your sharp knife to carefully remove any undesirable bits, creating clean, appealing portions. Run your fingers over the fillets one last time to check for any missed pin bones or small pieces of "Y" bone that might have slipped through. If you find any, use a pair of clean pliers or tweezers to pull them out.
Maximizing Your Yield and Handling Your Muskie Fillets
With patience and the right technique, you can get a surprising amount of quality meat from a muskie. It's all about respecting the fish's anatomy and making smart cuts.
The "Four Fillet" Method for Maximum Meat
The "four fillet" method, as described above, is truly the gold standard for muskellunge. Instead of trying to extract a single large fillet and then battle those internal "Y" bones, you effectively section the muscle, working around the problem areas. This technique results in four lean, boneless strips of delicious muskie meat per fish – two top loins and two bottom loins. This approach significantly reduces waste and provides superior quality fillets that are much easier to cook and enjoy. It truly transforms the challenge of filleting a muskie into a rewarding endeavor. How Many Muskellunge Can You Keep in Michigan outlines the rules, but the effort put into each one is what truly counts.
Storage and Preparation Tips
Once your muskie fillets are clean and trimmed, a quick rinse in cold water can remove any lingering scales or blood. Pat them thoroughly dry with paper towels; this is crucial for both cooking and storage, as excess moisture can lead to a mushy texture or freezer burn. For immediate use, store the fillets in an airtight container in the refrigerator for a day or two. If you plan to store them longer, vacuum sealing is highly recommended. This removes air, which is the primary cause of freezer burn, preserving the quality and flavor of your fillets for several months. Label your vacuum-sealed packages with the date to keep track.
When it comes to cooking, muskie has a firm, flaky, white flesh with a mild flavor, similar to walleye. It's versatile and can be pan-fried, baked, grilled, or even smoked. Consider a simple seasoning of salt, pepper, and a squeeze of lemon to let its natural flavors shine. Remember that Michigan's 24-Hour Muskellunge Reporting Requirement must be fulfilled after your catch, so don't get too caught up in the filleting process and forget this important step!
| Fillet Knife Characteristic | Why It Matters for Muskie |
|---|---|
| Length (9-12 inches) | Provides the reach for long, continuous cuts along the spine and for separating large sections of meat. Shorter knives can make this job choppy and less efficient on such a large fish. |
| Flexibility | Allows the blade to conform to the contours of the fish, especially crucial when working over the rib cage and separating the "Y" bone section, ensuring more meat stays on the fillet and less on the carcass. |
| Sharpness | Absolutely critical for safety and efficiency. A sharp knife makes clean cuts with less effort, reducing the risk of slipping and injury. It also prevents tearing of delicate fish flesh. |
| Handle Grip | A non-slip, ergonomic handle is vital, especially when dealing with a wet and potentially slimy fish. Good grip reduces hand fatigue and enhances control, which is key for precision work. |
| Material (Stainless Steel) | Resists corrosion and rust, which is important for a knife used in wet environments and cleaned frequently. Maintains a hygienic surface for food preparation. |
Disclaimer
This article is for general informational purposes only and does not constitute professional advice. Laws, prices and regulations vary by location and change over time. Consult a qualified professional for guidance on your specific situation.